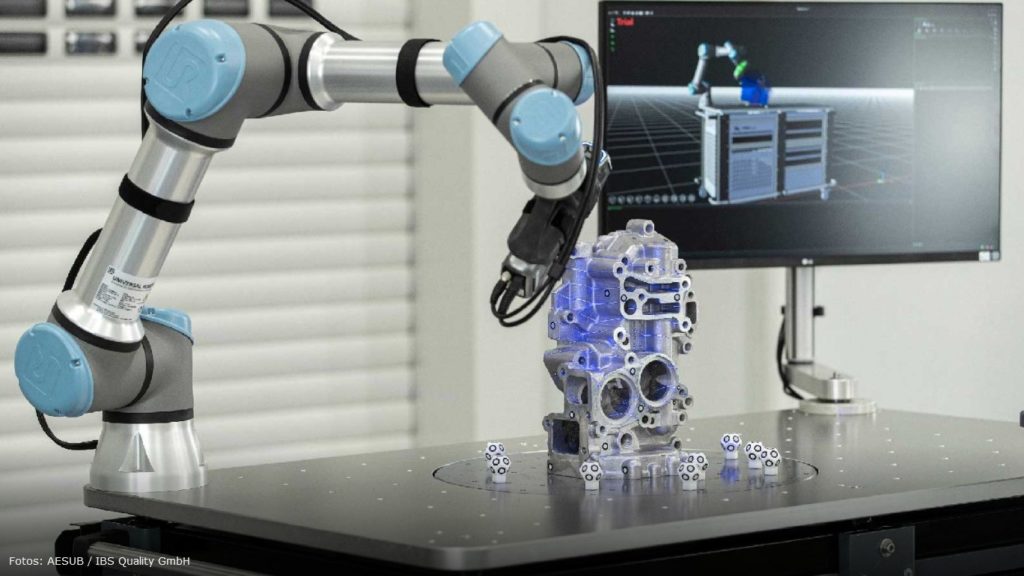
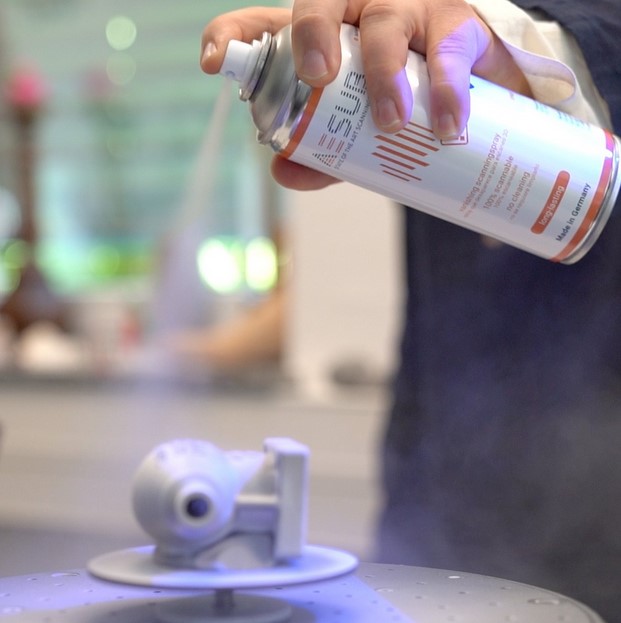
Large Components Prepared in Seconds With AESUB Reference Points For 3D Scanning
Source: Large Components Prepared in Seconds With Reference Points For 3D Scanning – Metrology and Quality News – Online Magazine
Source: Additive manufacturing and 3D scanning optimize production of aircraft components (3printr.com)
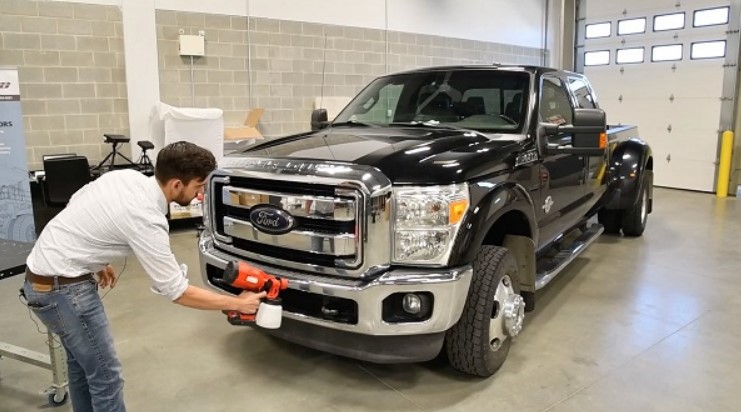
Source: https://www.industrysourcing.com/article/Scanning-chrome-parts-of-a-Ford-Super-Duty-Truck
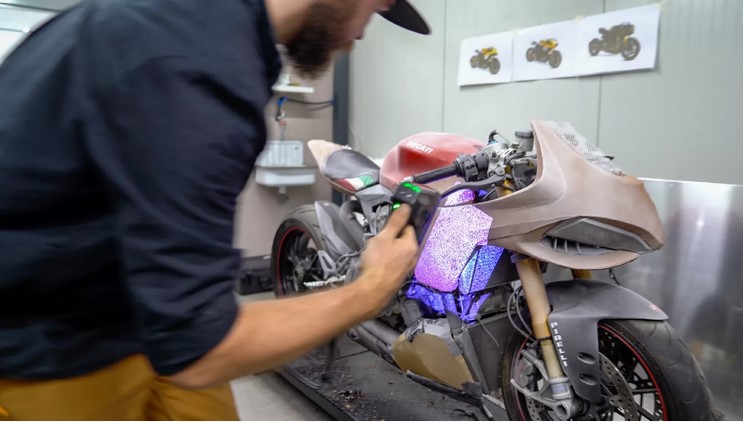
Source: https://gyartastrend.hu/cikk/a-szkenner-spray-megkonnyiti-az-agyagmodellek-digitalizalasat
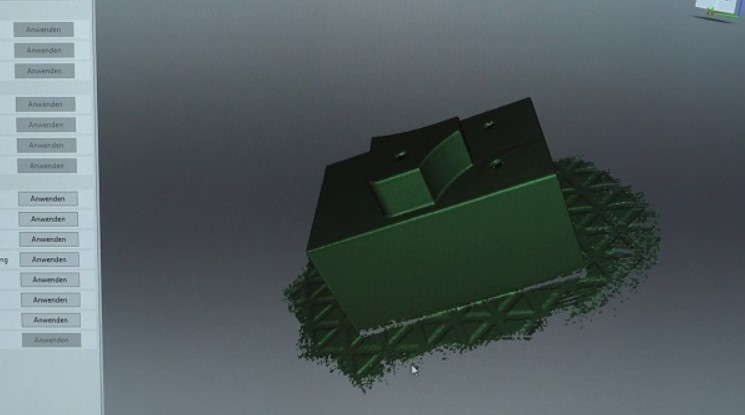
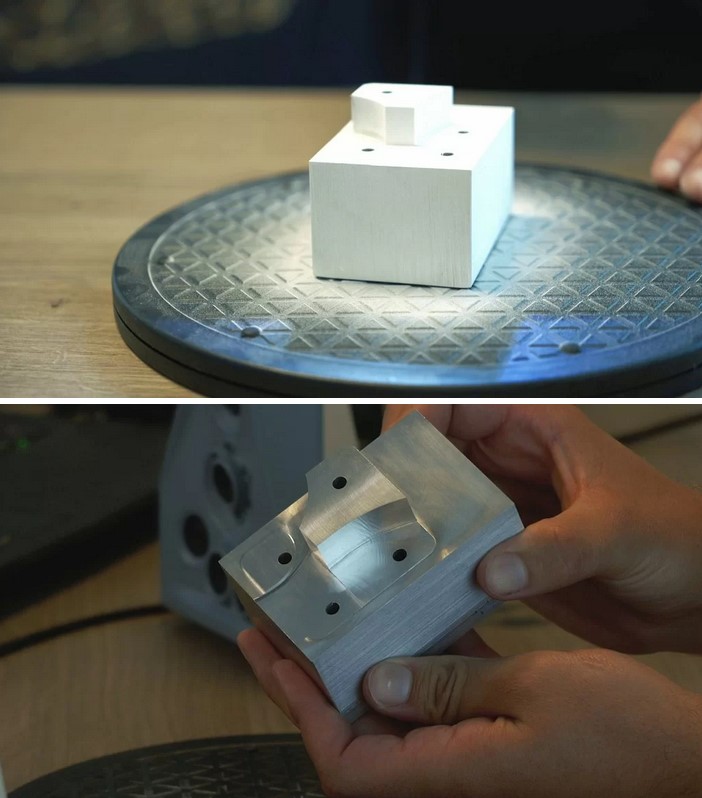
Source: https://www.industrysourcing.com/article/More-efficient-machining-of-3D-printed-metal-parts
Source: https://www.irt3000.com/en/news/2022112114103060/more_efficient_machining_of_3dprinted_metal_parts_/
Source: https://metrology.news/3d-measurement-process-at-a-glance-spray-program-scan-evaluate/
Look here: https://www.industrysourcing.cn/client/article/details.html?id=412477&tid=236&lid=
AESUB. Spray – Scan – Done Pulverizar – escanear – imprimir Quelle: https://www.pedeca.es/aesub-pulverizar-escanear-imprimir/
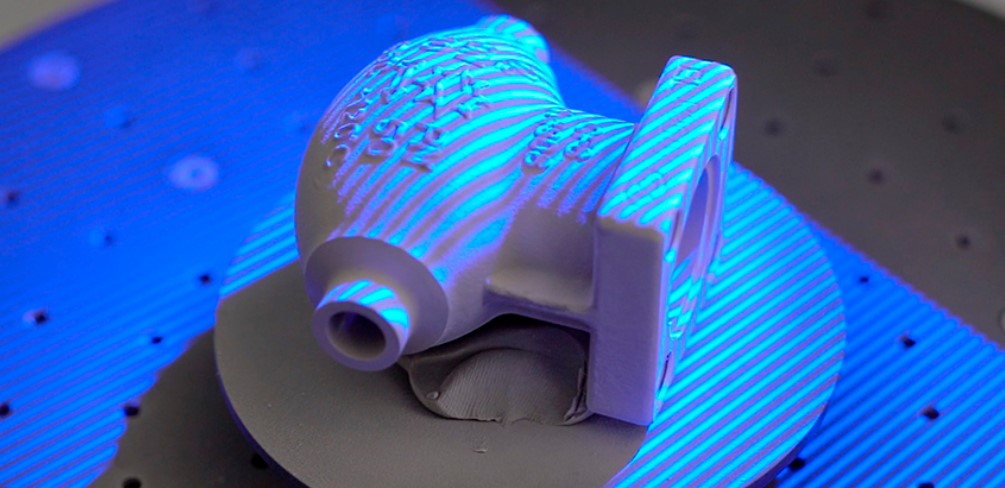
Users usually measure large objects with handheld scanners or portable laser trackers. For glossy or transparent surfaces, some companies are now using a scanning spray that sublimates itself. Source: Quality Engineering, Issue 02 2022 Download the full article in the following link: